I have just Googled Sedona and "Sedona is an Arizona desert town near Flagstaff that’s surrounded by red-rock buttes, steep canyon walls and pine forests." That is too funny I live in Flagstaff, Hamilton, New Zealand.
Simon is an awesome teacher and I achieved all 3 cards for the class PLUS a bonus card. I've snapped as 2 photos of 2 cards rather than as a group of 4. Starting off with let's go to Sedona...

This card makes me laugh, fancy sending someone a prickly cactus with HUGS but it is perfect sentiment! Colours used were Soft Suede, Wild Wasabi and Old Olive (all SU!) and we used the domed blender to add some Lunar Paste to the cactus flower.

The scene builder was fun to build with the scene maker stencil. Starting at the top of the scene: Licorice (PFS), Blue Jay (PFS), Slumber (PFS), Melon Mambo (SU!), Mango Melody (SU!), Soft Suede (SU!), Warm Sunshine (ALT), Olive (PFS).

And of course the moon in Game Over, this lunar paste isn't as vibrant as the one we received last year but it is very dramatic.

I know this stencil is available to purchase and I really liked making a scene with the stencil so it is worth keeping your eyes out if more are released. I know a lot of colours were used but it was actually very easy to create the background.
Then it was stamping foam fun time.

After last year's play I bought for $2 from K-Mart a flax-coir sort of mat so knew I wanted to have a play with that for my background, ink colour used Slumber (PFS). We stamped onto a die-cut with the photopolymer stamps for the flower, I used Wild Wasabi (SU!) for the leaves and Warm Sunshine (ALT) for the flower centres. Lunar paste added to flower petals.


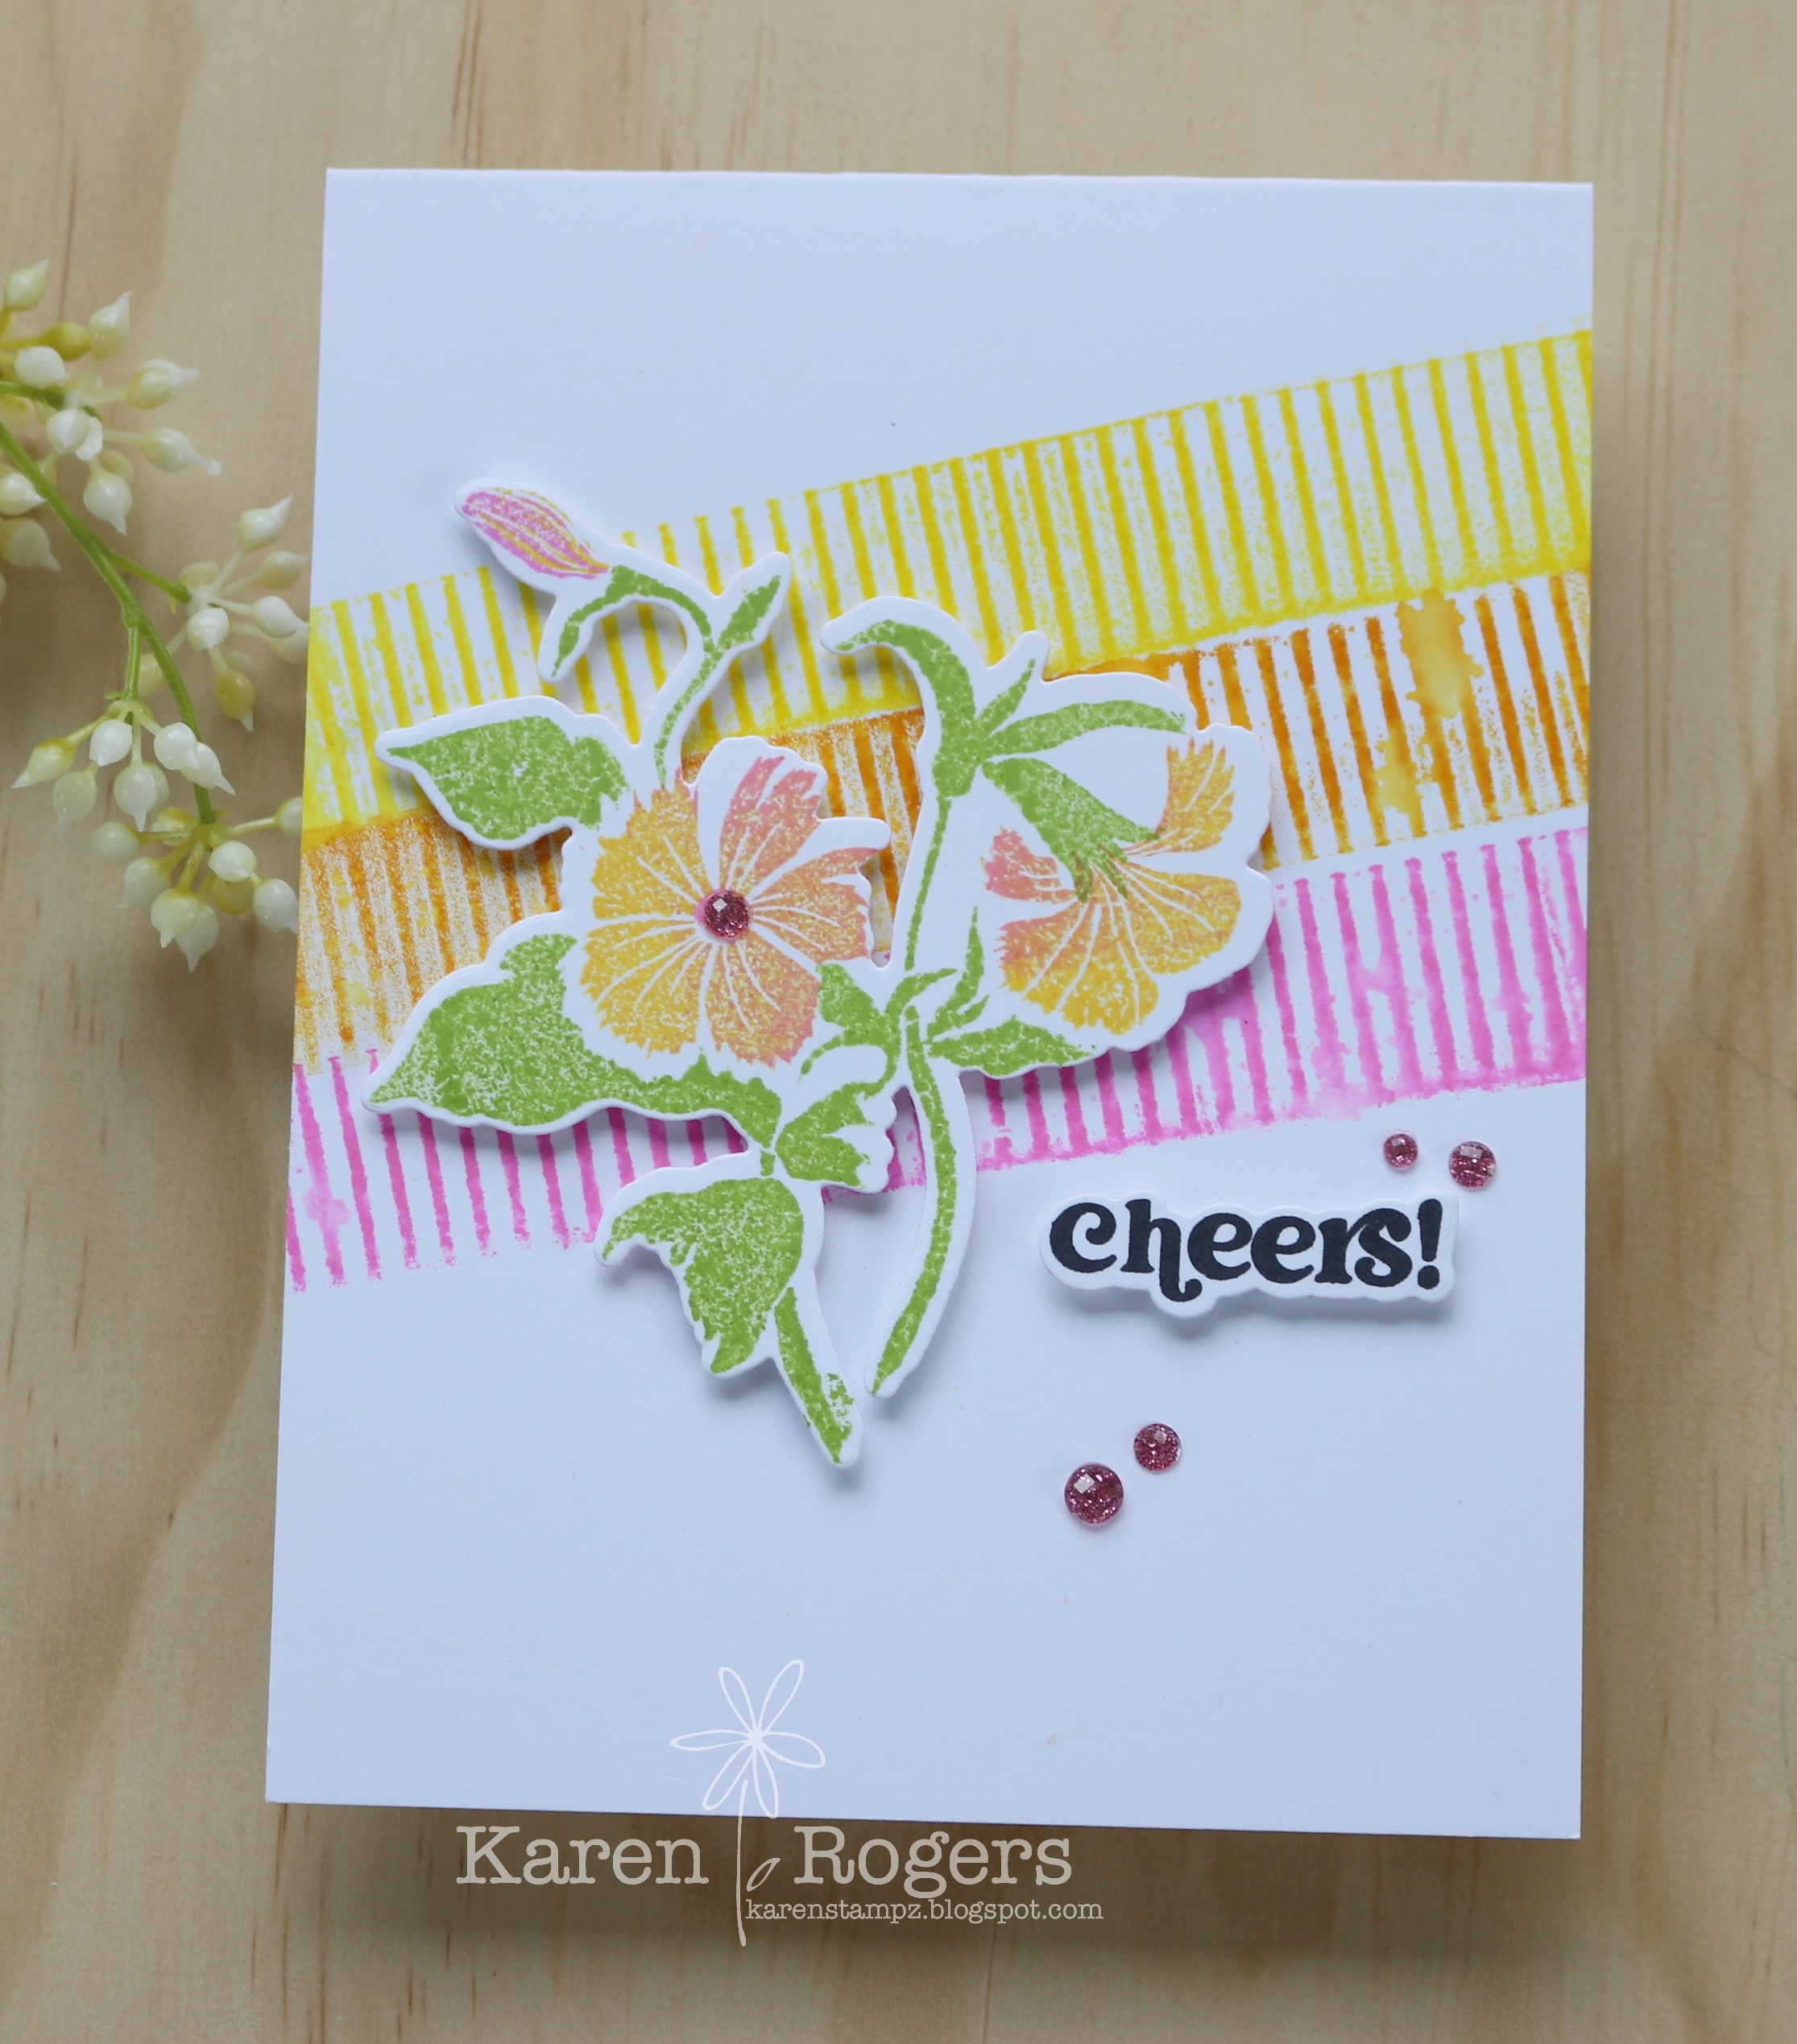
This was the bonus card and wow I love it, it's actually my fav from the class, the thin stripes were made using the side of the warm stamping foam block, which were pushed into your scoring board to make the impression. We used Wild Wasabi for the leaves and Melon Mambo, Mango Melody and Warm Sunshine for the rest of the stamping. I have used some glitter drops from PFS on this card and the one above just some random sequins in my stash (?Studio Katia Majestic Confetti).
Ranger were every generous AGAIN and we got a heap of stuff in our class kit.


I really like the domed blender brushes so decided I am going to start using them for doing my Distress Oxide backgrounds as they are much faster to lay on the colour and blend with the oxides. We used them to make the night sky on our "plus one card" from the first day.

✿ Karen ✿


